Database Connections
Auth0 provides database connections to authenticate users with an identifier (email, username, or phone number) and password. These credentials are securely stored in the Auth0 user store or in your own database.
You can create a new database connection and manage existing ones at Auth0 Dashboard > Authentication > Database:
Scenarios
Auth0 provides the database infrastructure to store your users by default. This scenario provides the best performance for the authentication process since all data is stored in Auth0.
The Auth0-hosted database is highly secure. Passwords are never stored or logged in plain text but are hashed with bcrypt. Varying levels of password security requirements can also be enforced. To learn more, read Password Strength in Auth0 Connections.
If you have an existing user store, or wish to store user credentials on your own server, Auth0 enables you to connect to a custom database or repository and use it as the identity provider.

In this scenario, you provide the login script to authenticate the user that will execute each time a user attempts to log in. Optionally, you can create scripts for sign-up, email verification, password reset, and delete user functionality.
The scripts are Node.js code. Auth0 provides templates for most common databases, such as ASP.NET Membership Provider, MongoDB, MySQL, PostgreSQL, SQL Server, Windows Azure SQL Database, and for a web service accessed by Basic Auth. Essentially, you can connect to almost any kind of database or web service with a custom script.
In this scenario, you have a legacy user store and wish to switch to the Auth0 store. Auth0 provides an automatic migration feature that adds your users to the Auth0 database one-at-a-time as each logs in and avoids asking your users to reset their passwords all at the same time. To learn more, read Configure Automatic Migration from Your Database.
Go to Auth0 Dashboard > Authentication > Database, and select the name of the connection you want to edit.
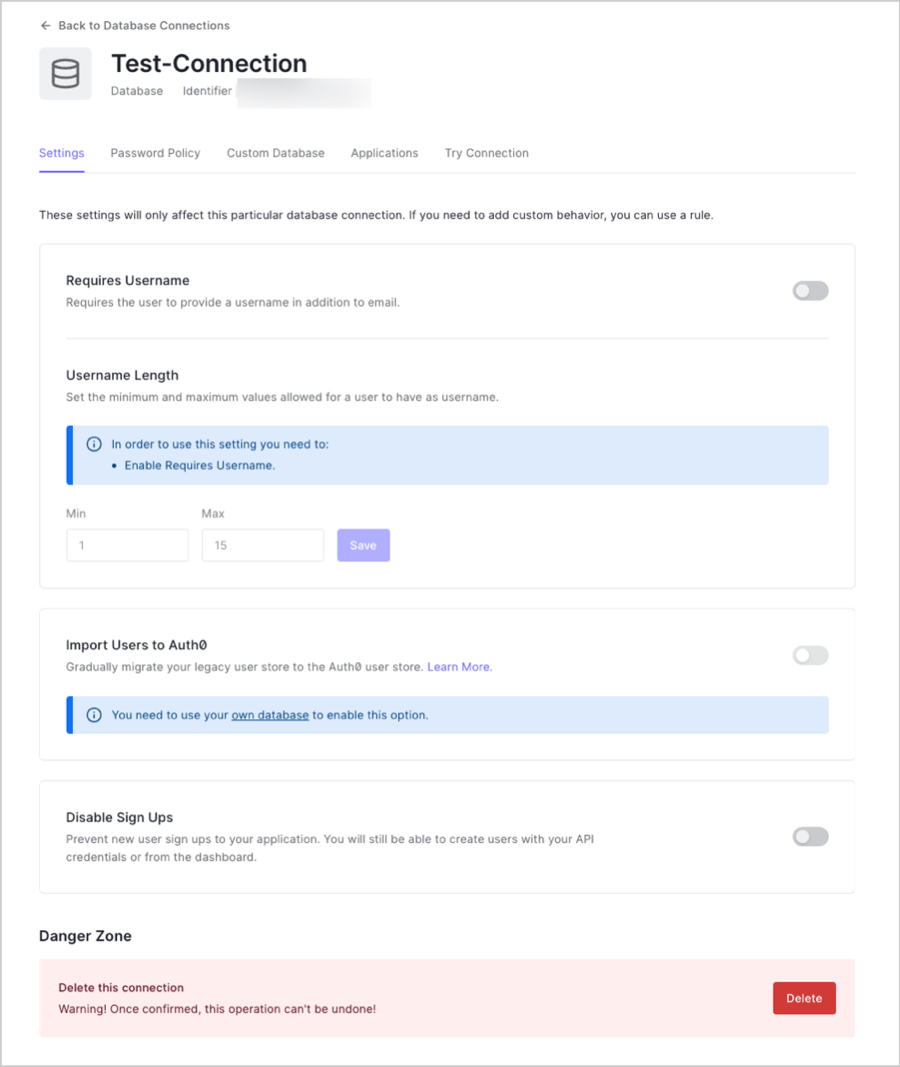
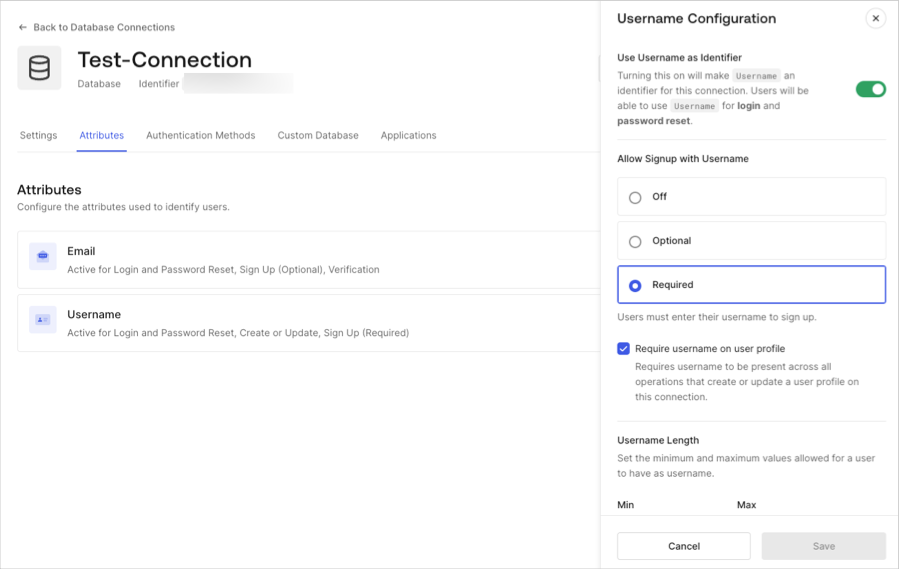
Locate Requires Username, and use the toggle to enable or disable requiring a username.

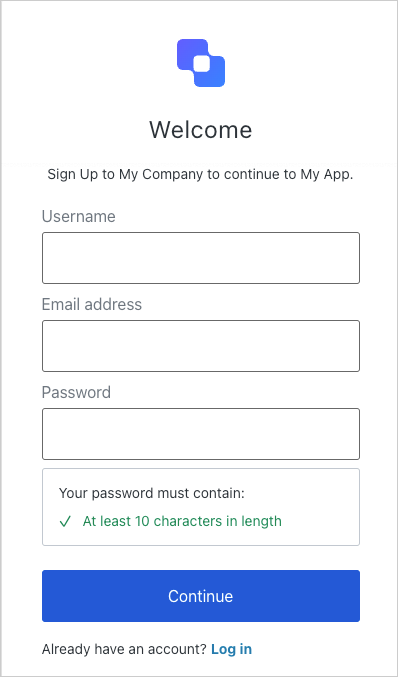
To see how this will affect the login screen, select the Try Connection view. Notice that once Requires Username is enabled, new users must enter a username and their email address to sign up.

Users can then login with either their username or their email address. Users who registered while Requires Username was disabled will not have a Username field stored and will have to log in with their email address.
