Configure Workday as SAML Service Provider
Use the following SAML configuration for Workday.
Go to Dashboard > Applications > Applications and either create a new application or click the name of an application to update.
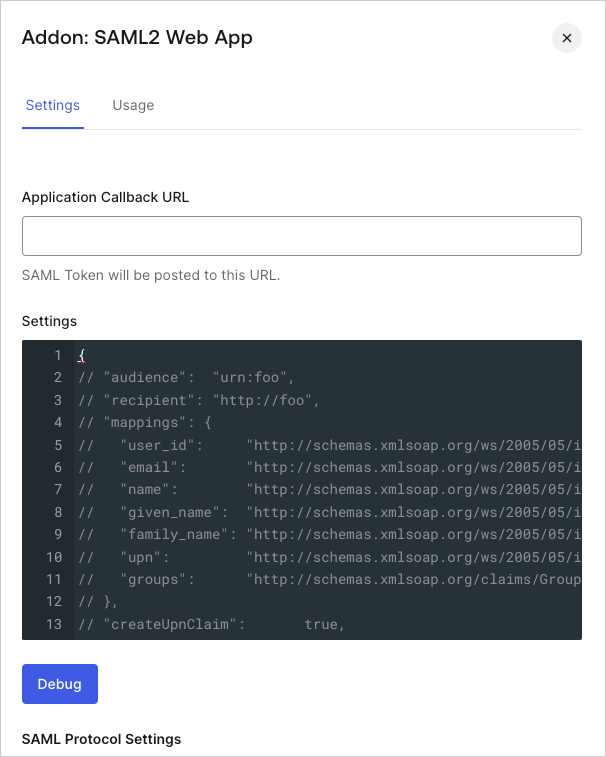
Go to the Addons tab and enable the SAML2 Web App toggle.
On the Settings tab, set the Application Callback URL to:
https://impl.workday.com/<tenant>/login-saml.htmld.
Paste the following code into the Settings text box and click Debug.
Change the subdomain{ "audience": "http://www.workday.com", "recipient": "https://www.myworkday.com/<tenant>/login-saml.htmld", "mappings": { }, "createUpnClaim": false, "passthroughClaimsWithNoMapping": false, "mapUnknownClaimsAsIs": false, "mapIdentities": false, "signResponse": true, "nameIdentifierFormat": "urn:oasis:names:tc:SAML:1.1:nameid-format:X509SubjectName", "nameIdentifierProbes": [ "http://schemas.xmlsoap.org/ws/2005/05/identity/claims/emailaddress", ], "authnContextClassRef": "urn:oasis:names:tc:SAML:2.0:ac:classes:X509", }Was this helpful?
/impldepending on the Workday data center you are using.Scroll to the bottom of the page and click Enable.
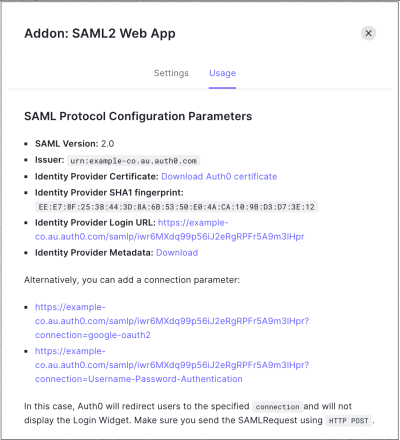
On the Usage tab, locate Identity Provider Metadata, and click Download to download the metadata file. You'll need this when you configure Auth0 as the identity provider.


